MongoDB 를 Sharded cluster 로 구축 후 운영하면서 수정했던 파라메터 중 하나를 공유합니다.
TaskExecutorPool은 mongos 에서 설정하는 파라메터 값 중 하나입니다.
(해당 문서는 4.4 위주로 작성 되었습니다.)
TaskExecutorPool?
- Real MongoDB(235page)
- MongoDB 라우터(mongos)는 MongoDB 클라이언트로부터 요청되는 쿼리들을 처리하기 위해서 내부적으로 서버의 CPU 코어 개수만큼 TaskExecutorPool 를 준비
- Thread Pool 과 동일한 개념으로 생각하면 이해가 쉬움
- MongoDB Shard 노드(Member)와의 연결 정보를 가지는 connection pool를 하나씩 가지며, Connection pool은 내부적으로 sub-connectionpool를 보유
- 샤드 서버당 하나씩 생성
- 만약 2개의 샤드(노드)가 존재한다면, 하나의 샤드당 connnection pool은 2개씩의 sub-connectionpool를 보유 (소스 상 specific-pool 이라고 명칭)
- taskExecutorPoolSize 조정의 예시
- app과 같은 서버에서 mongos가 실행된다면, app에서 많은 연결 및 작업을 한다면 TaskExecutorPool의 개수를 수동으로 증가 시키는 것도 가능
- CPU 코어가 많은 서버라면, connection 이 너무 과도하게 생성되어 오히려 mongo shard(node)에 부하가 발생한다고 판단되면, TaskExecutorPool 개수를 제한도 가능
- 모니터링 시 해당 수치가 높게 나오면 Sharded Clsuter 에 문제가 있기 때문에 반드시 체크가 필요 합니다.
taskExecutorPoolSize
-
주어진 mongos에 사용할 Task Executor Connection Pool 의 수
-
사용 가능한 코어 수로 default 설정 (최소 4, 최대 64)
-
4.2 에서는 Default 가 1이며, cpu core 수에서 해당 값 만큼 설정
-
0 으로 설정 시 자동으로 설정
-
4.0 이전에는 core 수가 4 이하면 4, core 수가 64 이상일 경우 64로 설정
-
-
open connection 수를 줄이려면 낮은 값으로 설정
- 부하 발생 시 적절하게 대처하기 힘들 수 있음.
-
default 값이 적절하며, 코어 수가 많은 서버에서는 해당 옵션을 16 이하로 설정하는 것이 좋음
-
mongos는 multiple thread pool을 유지 가능
-
코어 수당 최대 connection 는 ShardingTaskExecutorPoolMaxSize 만큼 설정 가능
- ex > ShardingTaskExecutorPoolMaxSize : 100 으로 설정 하고, taskExecutorPoolSize 를 4로 설정 시 최대 400개의 connection 을 생성 및 연결

sub-ConnectionPool (SpecificPool)
-
connection pool의 connection을 얼마나 보유할지 결정
-
ShardingTaskExecutorPool로 시작
-
value 값들은 모두 3.2.11 이후부터 설정가능
ShardingTaskExecutorPoolHostTimeoutMS
-
mongos 가 host 와 통신하지 않아 끊는 시간(Timeout)
-
Default 300000 (5 분)
-
시간이 길수록 피크 발생 시 유연하게 대처가 가능.
-
일반적으로 피크 기간?의 3~4배 시간으로 설정하는 것이 tip (피크-spike 치는 시간이 가령 5분동안 지속된다면, 해당 ShardingTaskExecutorPoolHostTimeoutMS을 15~20분 으로 설정하는 것을 추천)
-
Real MongoDB에서는 30분에서 1시간 정도를 추천
-
ShardingTaskExecutorPoolMaxSize
- taskExecutor connection pool 이 mongod(sharded) 에 대해 connection 할 수 있는 최대 개수 ( 하나의 coonection pool 이 접속할 수 있는 최대 connection 수)
- default 값이 무제한
- 최대 connection 수는 ShardingTaskExecutorPoolMaxSize * taskExecutorPoolSize 로 계산
- connection floods 가 발생하면 해당 값을 제한하여 설정하는 것이 유용
- connection floods : TCP connection floods라고 하며, 공격자가 서버에 사용 가능한 TCP connection slot 을 고갈시키는 행위 (여기서는 사용 가능한 connection 이 없을 경우를 의미)
ShardingTaskExecutorPoolMinSize
- 각 TaskExecutor connection pool 이 sharded node에 connection 할 수 있는 최소 수
- default 1
- cold start 시 대기 시간 문제가 있는 경우 해당 값 증가가 도움
- 해당 값을 증가시키면, mongos 프로세스가 ShardingTaskExecutorPoolHostTimeoutMS 가 만료될때까지 open 된 상태 유지 (TaskExecutorPoolSize * PoolMinSize * mongos 개수 per shard)
- Real MongoDB에서는 10개 정도의 값도 충분
ShardingTaskExecutorPoolRefreshRequirementMS
- connection pool 안에서 connection heartbeat로 시도할 때 wait 최대 시간
- Default 60000 (1 분)
- default 값을 추천
- 해당 값을 높이면 heartbeat 트래픽이 증가하여 idle load 가 증가
- 해당 값을 낮추면 일시적인 네트워크 오류 수를 줄일 수 있음(connection timeout 으로 인한 오류 내역을 줄일 수 있음)
ShardingTaskExecutorPoolRefreshTimeoutMS
- mongos가 heartbeat timeout 을 기다리는 최대 시간
- Default 20000 (20 초)
- 해당 값이 낮으면 mongos가 pool 안의 connection을 유지할 수 없음
- 네트워크 대기 시간이 긴 경우 해당 값을 늘려 네트워크 연결 유지를 향상 가능
# 설정 방법 1 (mongos config 로 등록)
sharding:
  #configDB: config_replSet/10.28.195.139:27017,10.28.195.140:27017,10.28.195.141:27017
  configDB: config_replSet/10.6.98.32:27017,10.6.102.126:27017,10.6.98.62:27017
net:
  bindIp: 0.0.0.0
  port: 27019
processManagement:
  fork: true
  pidFilePath: "/data/mongos/mongos.pid"
security:
#  authorization: enabled
  keyFile: /usr/local/mongodb/mongo_repl.key
systemLog:
  destination: file
  path: "/data/mongos/log/mongos.log"
# logAppend: true


setParameter:
  taskExecutorPoolSize: 0
# 설정 방법 2 (명령어로)
mongos> db.runCommand({setParameter:1,taskExecutorPoolSize:0})
{
"was" : 1,
"ok" : 1,
"$clusterTime" : {
"clusterTime" : Timestamp(1631672362, 1),
"signature" : {
"hash" : BinData(0,"AAAAAAAAAAAAAAAAAAAAAAAAAAA="),
"keyId" : NumberLong(0)
}
},
"operationTime" : Timestamp(1631672362, 1)
}
#확인 방법
mongos> db.runCommand({getParameter:1,taskExecutorPoolSize:1})
{
"taskExecutorPoolSize" : 0,
"ok" : 1,
"$clusterTime" : {
"clusterTime" : Timestamp(1631672363, 1),
"signature" : {
"hash" : BinData(0,"AAAAAAAAAAAAAAAAAAAAAAAAAAA="),
"keyId" : NumberLong(0)
}
},
"operationTime" : Timestamp(1631672363, 1)
}
Connection pool 확인
-
TaskExecutorPool 개수를 확인 가능 (16개)
- 내부에 각 Shard DB들로 추가 connection 확인 가능
mongos> db.runCommand({"connPoolStats":1})
{
        "numClientConnections" : 0,
        "numAScopedConnections" : 0,
        "totalInUse" : 1,
        "totalAvailable" : 180,
        "totalCreated" : 5871,
        "totalRefreshing" : 0,
        "replicaSetMatchingStrategy" : "matchPrimaryNode",
        "pools" : {
                "NetworkInterfaceTL-ShardRegistry" : {
                        "poolInUse" : 0,
                        "poolAvailable" : 3,
                        "poolCreated" : 41,
                        "poolRefreshing" : 0,
                        "192.168.0.126:27017" : {
                                "inUse" : 0,
                                "available" : 1,
                                "created" : 4,
                                "refreshing" : 0
                        },
                        "192.168.1.32:27017" : {
                                "inUse" : 0,
                                "available" : 1,
                                "created" : 35,
                                "refreshing" : 0
                        },
                        "192.168.1.62:27017" : {
                                "inUse" : 0,
                                "available" : 1,
                                "created" : 2,
                                "refreshing" : 0
                        }
                },
                "NetworkInterfaceTL-TaskExecutorPool-0" : {
                        "poolInUse" : 0,
                        "poolAvailable" : 9,
                        "poolCreated" : 355,
                        "poolRefreshing" : 0,
                        "192.168.0.101:27017" : {
                                "inUse" : 0,
                                "available" : 1,
                                "created" : 2,
                                "refreshing" : 0
                        },
                        "192.168.0.199:27017" : {
                        ...

                   "NetworkInterfaceTL-TaskExecutorPool-1" : {
                        "poolInUse" : 1,
                        "poolAvailable" : 8,
                        "poolCreated" : 366,
                        "poolRefreshing" : 0,
                        "192.168.0.101:27017" : {
                                "inUse" : 0,
                                "available" : 1,
                                "created" : 5,
                                "refreshing" : 0
                        },
                        "192.168.0.199:27017" : {
                        ...
                  "NetworkInterfaceTL-TaskExecutorPool-10" : {
                        "poolInUse" : 0,
                        "poolAvailable" : 12,
                        "poolCreated" : 342,
                        "poolRefreshing" : 0,
                        "192.168.0.101:27017" : {
                                "inUse" : 0,
                                "available" : 1,
                                "created" : 2,
                                "refreshing" : 0
                        },
                        "192.168.0.199:27017" : {
                        ...
               "NetworkInterfaceTL-TaskExecutorPool-15" : {
                        "poolInUse" : 0,
                        "poolAvailable" : 10,
                        "poolCreated" : 349,
                        "poolRefreshing" : 0,
                        "192.168.0.101:27017" : {
                                "inUse" : 0,
                                "available" : 1,
                                "created" : 2,
                                "refreshing" : 0
                        },
                        "192.168.0.199:27017" : {
                                "inUse" : 0,
                                "available" : 1,
                                "created" : 1,
                                "refreshing" : 0
                        },
                        "192.168.0.92:27017" : {
                        ...
[참고]
Real MongoDB
Line Games 성세일님
AWS 이덕현님
https://www.mongodb.com/docs/v4.4/reference/parameters/#mongodb-parameter-param.taskExecutorPoolSize
https://muralidba.blogspot.com/2018/03/what-are-tunable-options-for-mongos.html
반응형
'MongoDB' 카테고리의 다른 글
| [MongoDB] Logical Session / Causal Consistency (0) | 2022.12.08 |
|---|---|
| [MongoDB] tcmalloc memory cache 정리 (0) | 2022.08.22 |
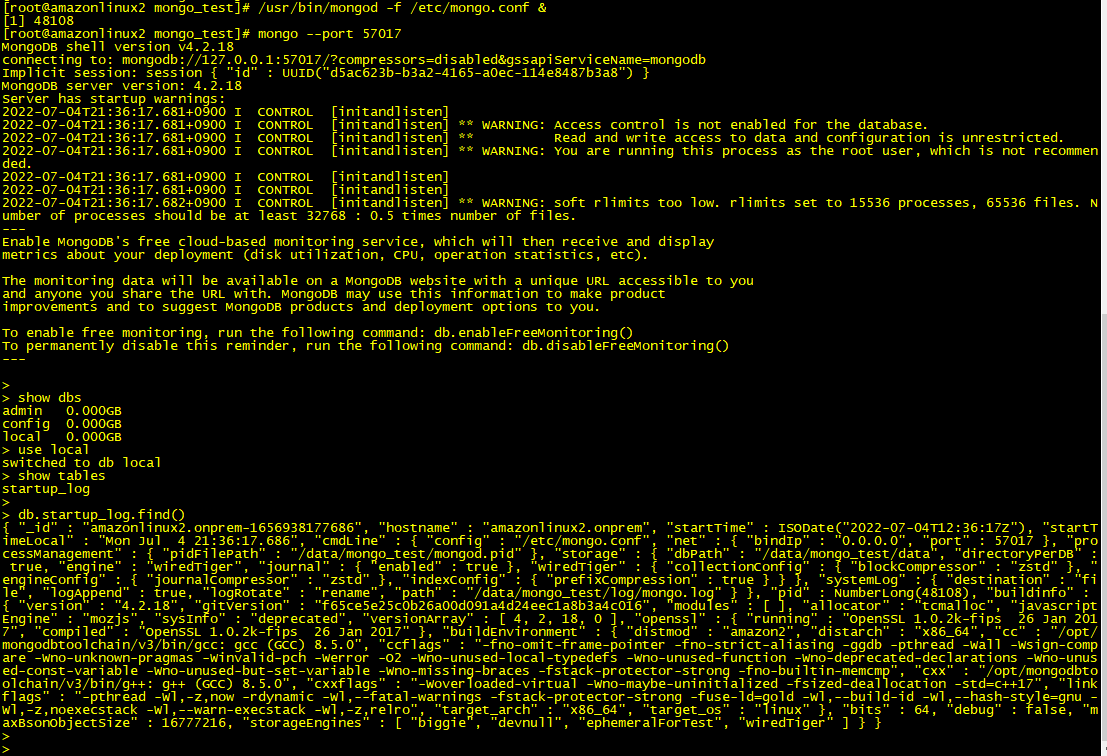
| [MongoDB] Replica Set to StandAlone (v4.2) (0) | 2022.07.04 |
| [MongoDB] Upgrade 이슈 (4.0 to 4.2) - MinValidDocument.oplogDeleteFromPoint is an unknown field (0) | 2022.07.02 |
| [MongoDB] 3.4 to 4.2 upgrade (rpm) (0) | 2022.07.02 |